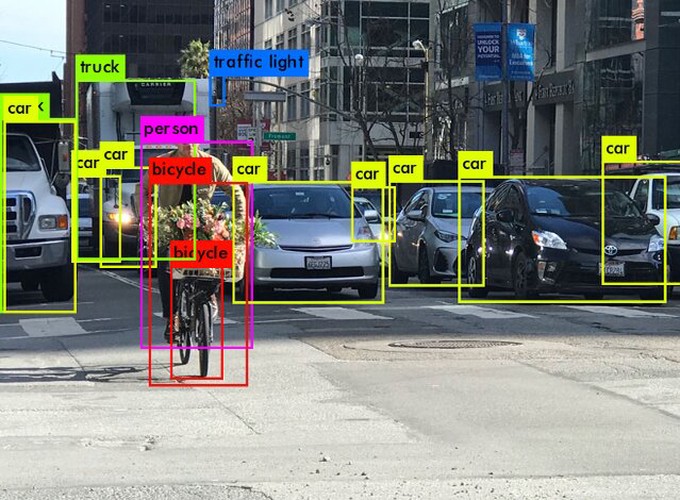
Please click on the ‘Video’ and ‘Code’ buttons displayed above to view project source code and model in action!
Abstract:
Most of the deep neural object detection/classification models such as R-CNN, Faster R-CNN & SSD require significantly higher computational power to achieve respectable FPS & Accuracy. But, we need a different cnn-based neural architecture to cater the scenarios where the object detection task is to be executed in real-time rather than waiting for hours to process a 10 min video stream or to run the detector on limited/low-power hardware. Thus, in this project, we implement a real-time event-driven Vehicle Detection & Counting system using the OpenCV’s Yolo v3 (608 x 608) implementation. The model detects and counts pedestrians/vehicles that cross a line of interest projected in any axis within the video stream.
Implemented Tasks:
- Experimented & contrasted different YOLO v3 configurations.
- Optimized Object Detection & Classification for large video streams.
- Implemented vehicle density counter at per-frame/video level.
- Developed efficient frame-level per-class object counter.
- Designed Event-based object counter to detect incoming & outgoing vehicles in different lanes.
- Refactored and optimized project code.
- Envisioned an End-to-End system by implementing a real-time object detection progress bar.
- Set-up, executed & analysed the model on Google Cloud Platform and verified the overall model accuracies/fps.
- Sped-up OpenCV‘s video writer output by utilizing different video extensions.
- Fixed FFmpeg dependency issues in Ubuntu Docker container.
Instructions:
Execute in Windows/Linux:
- Install Python 3
- Install PIP
- Install project dependencies: “pip install -r Requirement.txt”
- Download Yolo v3 Weights (608x608) from this link. Could not store them in GitHub repo because of file size restrictions!
- Save the “yolov3.weights” (downloaded in the above step) file inside the “yolo-coco” folder within the project directory.
- Download a sample input video from the link
- Save the “overpass.mp4” file inside the videos folder within the project directory.
- Run the object detector model inside the project directory: “python Yolo_Detector.py -i videos/overpass.mp4 -o output/final_output.avi
Execute in Docker Container:
Information: The final project docker image is publicly hosted in the Docker Hub portal: https://hub.docker.com/r/poojiyengar5/computer_vision
For Beginner Users:
[Who just wants to run the Object Detector once and see the results - cannot modify or view the code, so don’t use this command if you want to continue the project development in the future!]
- Command: docker run –rm –name Akshay_Container -ti poojiyengar5/computer_vision:latest python3 HIS.py -i videos/overpass.mp4 -o output/final_output.avi
For Advanced Users:
[For further development or modification of the project code]
- Please follow the following steps to run the project:
Step 1: Container creation
- Command: docker run –name Akshay_Container -ti poojiyengar5/computer_vision:latest
Step 2: Start the container
- Command: docker start Akshay_Container
Step 3: Log-in to the container
- Command: docker exec -ti Akshay_Container /bin/bash
Step 4: Run the Object Detector
- Command: python3 HIS.py -i videos/overpass.mp4 -o output/test.avi
Step 5: Modify the Object Detector Code
- Command: vi HIS.py
Step 6: Exit from the container
- Command: exit
Step 7: Stop the container
- Command: docker stop Akshay_Container
Step 8: Delete the container
- Command: docker rm Akshay_Container
Future Works:
- Post object detection generate detailed vehicle information reports for further statistical analysis.
- Exploit pre-trained YOLO models from TensorFlow/PyTorch instead of OpenCV.
- Rather than downloading OpenCV binaries from PIP/APT, compile OpenCV source code manually to enable CUDA backend.
